
Gravity Forms Booking: How to Add an Appointment Booking Form to Your WordPress Website
Do you want to add an appointment booking system to your WordPress website? Gravity Forms is the ideal tool for accepting online bookings and registrations because you can build the user experience exactly as you want it. The plugin’s major shortfall was the lack of an easy-to-use management dashboard facility, but we’ve fixed that with GFChart!
(The Gravity Forms team was so impressed with our work that they made us one of their very first Certified Developers.)
In this article, we’re going to explain why you should use Gravity Forms booking for your appointments, how to get started, and how to track your results with GFChart.
Why use Gravity Forms for Bookings and Registrations?
There are many other online booking and booking calendar options, but we found that they all force you into their designated workflow. That’s fine if you perfectly fit their use case, but somehow there tend to be compromises.
We love Gravity Forms because it is uncluttered and can be easily configured to cope with details that other solutions either cannot support, or do it in a very clunky way. Gravity Forms is very flexible, has payment gateways, many third-party application integrations, and submissions can easily be downloaded into a spreadsheet. It’s also extremely developer-friendly, so it can be tightly integrated with other functions if required.
Further, Gravity Forms fits in nicely with any WordPress theme. You don’t have to do any coding to set up a booking calendar system.
We could have used any form builder because we are completely independent of Gravity Forms. Having tried several options, we chose Gravity Forms because of its pedigree. We have since found them to be an extremely professional company to partner with.
Why Should You Add Gravity Forms Booking to WordPress Website?
Adding an appointment booking system to your WordPress website is a great way to ensure your web visitors can easily schedule time to speak with you or attend your events. Regular visitors, existing customers, and new people will all appreciate your streamlined system.
You can set up appointment booking for countless reasons, such as:
- Product demos
- Consultations
- Introduction calls
- Coaching/education
- Customer support
- Webinars
- Live events
- And much more
In the case of a webinar or a group coaching session, you might use a simple, open-ended form that accepts registrations and notifies your guests of the event details. For an intimate, one-on-one session, you could create an appointment booking system that syncs with your calendar so the guest gets a private slice of your time.
The best part about a Gravity Forms booking system is that it’s always available. It operates at all times, night and day, whenever your visitors want to use it. They don’t need to speak to you to set up an appointment, so the relationship is always moving forward.
Furthermore, using Gravity Forms bookings means you don’t need a separate plugin or application to schedule appointments. You can do everything from your forms plugin, which offers countless other applications for your business.
Who Benefits From an Appointment Booking System?
An appointment booking system is useful for anyone who needs to coordinate groups of people at scale. This includes agencies, coaches, trainers, professional service providers, educational institutions, venues, clubs, community groups, causes, religious institutions, and event planners.
You could set up an appointment booking system for your customers, fans, and even your employees. This keeps everyone organized without all of the back-and-forth conversations that come from manual scheduling.
How to Use Gravity Forms Bookings
In this guide, we’ll walk you through how to set up your very own Gravity Forms booking system on your WordPress website.
Step 1: Install Gravity Forms
Before you can make your own Gravity Forms bookings, you need to install the Gravity Forms plugin. If you’ve never installed a WordPress plugin before, read their full installation guide.
This is also a good time to install GFChart, a data visualization plugin that you’ll need in a later step to track your bookings.
Step 2: Create a Gravity Form
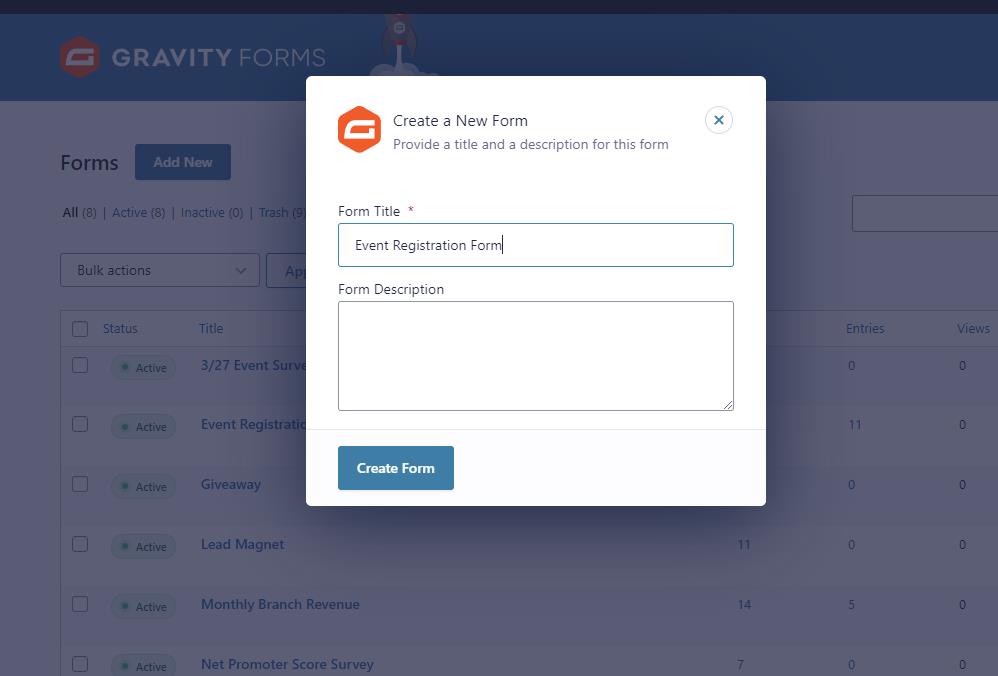
Next, you’ll need to create a Gravity Form and submit some entries. Visit Forms > New Form on the left side of your WordPress dashboard. Give your form a name that distinguishes it from other forms, and click Create Form.
(Struggling to create a Gravity Form? Check out their full guide.)
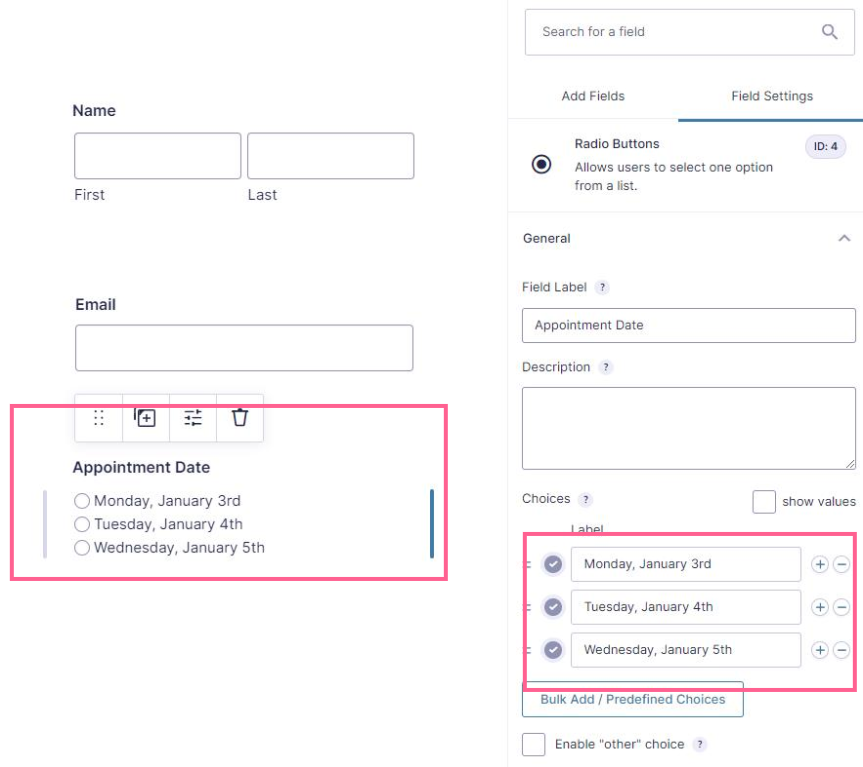
Inside the form editor, add some fields that make sense for your type of form. For instance, if you’re making an event registration form, you would probably start by asking for the submitter’s name and email address.
If you want your submitters to choose a specific date for their booking, you could use a drop-down field to give them some options.
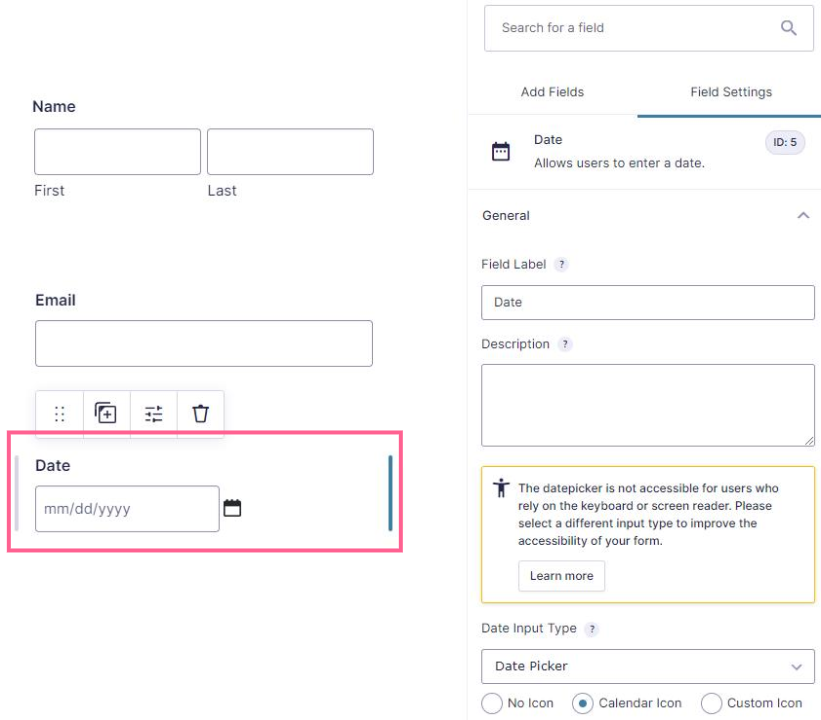
Alternatively, you can use the datepicker field to let your submitters select a specific date from anywhere on the calendar.
If you want to limit the selectable dates, we recommend installing Gravity Forms Limit Dates. This plugin lets you limit selectable dates in your Gravity Forms datepicker field so you can control which days people can book appointments.
When you’ve added enough fields, click the Update button. Whenever a visitor fills out the form, their data will appear under Forms > Entries.
If these solutions don’t work for you, here are a few additional plugins that extend Gravity Forms booking. Some even integrate with your Google calendar.
- Bookings for Gravity Forms
- gAppointments
- Gravity Booking
- Simply Schedule Appointments
How to Track Your Gravity Forms Bookings
Once visitors have begun to select appointment dates, you’ll want to track those submissions. Looking at raw data is hard to understand, so we always recommend turning those submissions into data visualizations using a WordPress charts and graphs plugin.
Event managers want to know how bookings are going, where people are coming from, etc – ideally live and up to date. Audiences want to know how popular something is before booking.
GFChart is the solution you need.
We have noticed that management dashboards are usually an afterthought, clients don’t want to pay extra for them, and their needs can change over time. Hard coding and debugging dashboards is a very time consuming activity. GFChart is an addon that’s ideal for people like you because it’s:
- Rapid: menu-driven so no coding skills are required. Fully documented, and supported by people who understand it.
- Flexible: use in 1000s of use cases so when the client changes their mind you don’t need to invest hours.
- Low risk: try before you buy and 30-day no-quibble, money-back guarantee.
- Enduring: we’ve been around since 2014, have customers in 70 countries, and regularly release upgrades.
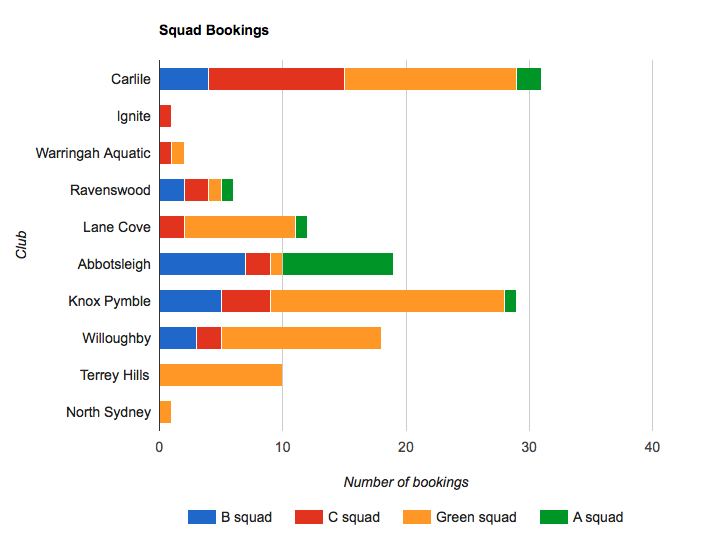
You could create a bar chart that displays the number of bookings by location. Looking at a chart like this, you can tell right away which locations are booked and which have empty space, making resource allocation clear and simple.
Or you might use a progress bar to help you understand event capacity at a glance. You could even use this type of chart on a public web page so visitors can see how close your event is to filling up.

How do you make visualizations like these? First, install GFChart (the basic version is sufficient).
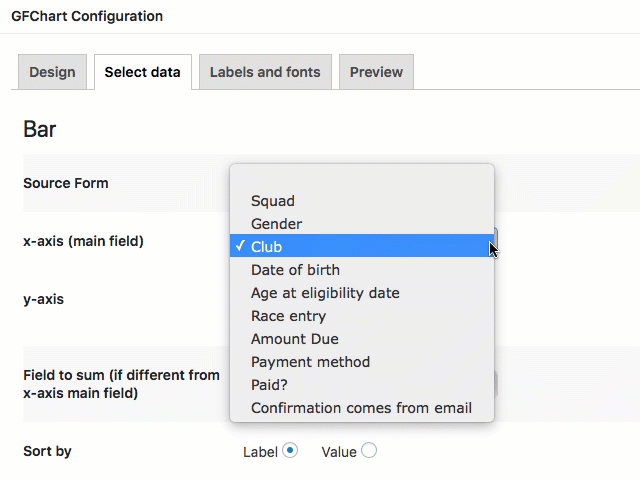
To begin building the form. Click Forms > Chats/Calculations in your WordPress backend to reach GFChart’s graph builder. Click Add New to get started. Select the Gravity Form to link with and give the chart a unique name that won’t conflict with other charts.
In the chart builder, you’ll see four tabs: Design, Select Data, Customiser, and Preview:
Design – Choose the format of your WordPress chart type. There are several chart types available. More options will appear below once you choose a format.
Select Data – Map the elements of your Gravity Form bookings form to your chart.
Customiser – Configure the chart’s design. How you customize these settings will depend on the design of your website and where you intend to display the form.
Preview – Review your chart before publishing it.
Your final step is to publish your chart to a page. The easiest way is to use the GFChart Gutenberg block with the page/post editor. Alternatively, you can embed the chart using a shortcode. You can find the shortcode for each chart within the chart editor.
Even More You Can Do With GFChart
If you can do all of that with GFChart BASIC, what more can you achieve with GFChart ALL?
- Automatically email reports to people who prefer information in their inbox*
- Monitor trends by creating charts against time.
- Enable users to modify reports on the fly via front end filtering.*
- Match your website palette using our color customisation features.
- Get started even faster with our pre-configured template library.
- Install on multiple sites.
- Enjoy features for surveys, assessments and more.
*PDF rendering requires Gravity PDF (obtained separately). Front-end filtering requires GravityView (purchased separately).
Ready to build a reporting dashboard for your Gravity Forms bookings? Download GFChart to start building your own data visualizations.