
Do you want to add a quote calculator to your WordPress website?
A quote calculator is a great way to help your visitors understand the costs of your products and services. It’s great for qualifying your leads and it creates an interactive user experience.
In this tutorial, we show you how to create your own quote calculator for your WordPress website using Gravity Forms.
A quote calculator is a great way to help your visitors understand the costs of your products and services. Share on XWhy Make a Quote Calculator?
Before we show you how to create your own quote calculator, let’s talk about the benefits.
A quote calculator is a simple form that performs calculations in order to provide your website visitors with an estimate for a product or service. The purpose is to immediately provide a potential customer with useful information without forcing them to reach out directly. They input their details and requirements and your form produces a number that helps them understand their total investment.
Letting potential customers use your quote calculator doesn’t mean you are bound to this number, but it gives the customer a little more information about making a purchase with your business. It has the potential to move the sales cycle along in an automated way. It’s a good idea to add some text to your quote calculator’s page that clearly explains that this number is just an estimate and may change if you and the potential customer do business together.
A quote calculator is also a useful way to qualify your leads before they take up any of your time. For instance, if a customer’s budget is far below the cost of your services, it’s better they learn that right away before they engage with you or anyone on your team.
Furthermore, a quote calculator makes an excellent lead magnet. By requiring the potential customer to submit their email address to use the form, you can fold them into your email marketing funnel. Over time, you can send them valuable email content that eventually converts them into a customer. (Just make sure your form makes it clear that a submission opts them into your marketing communications. Alternatively, you could add a checkbox to your form that lets them decide this for themselves.)
How to Create a Quote Calculator
In this tutorial, we will show you the process of creating a quote calculator in Gravity Forms.
Step 1. Create a form in Gravity Forms
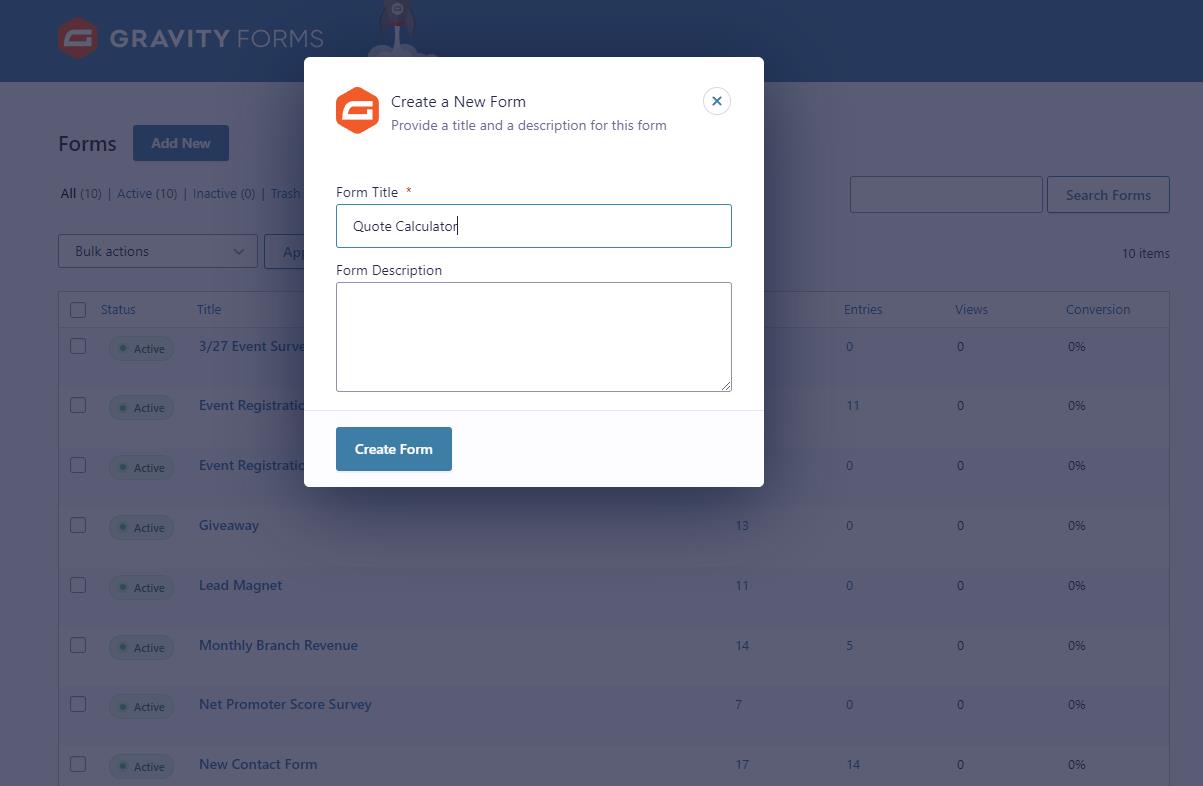
Visit Forms > New Form in your WordPress dashboard. Gravity Forms will prompt you to give the form a name. Choose something unique so you can tell it apart from other forms, such as “Quote Calculator.” Then click the Create Form button.
Step 2: Add some basic fields to the form
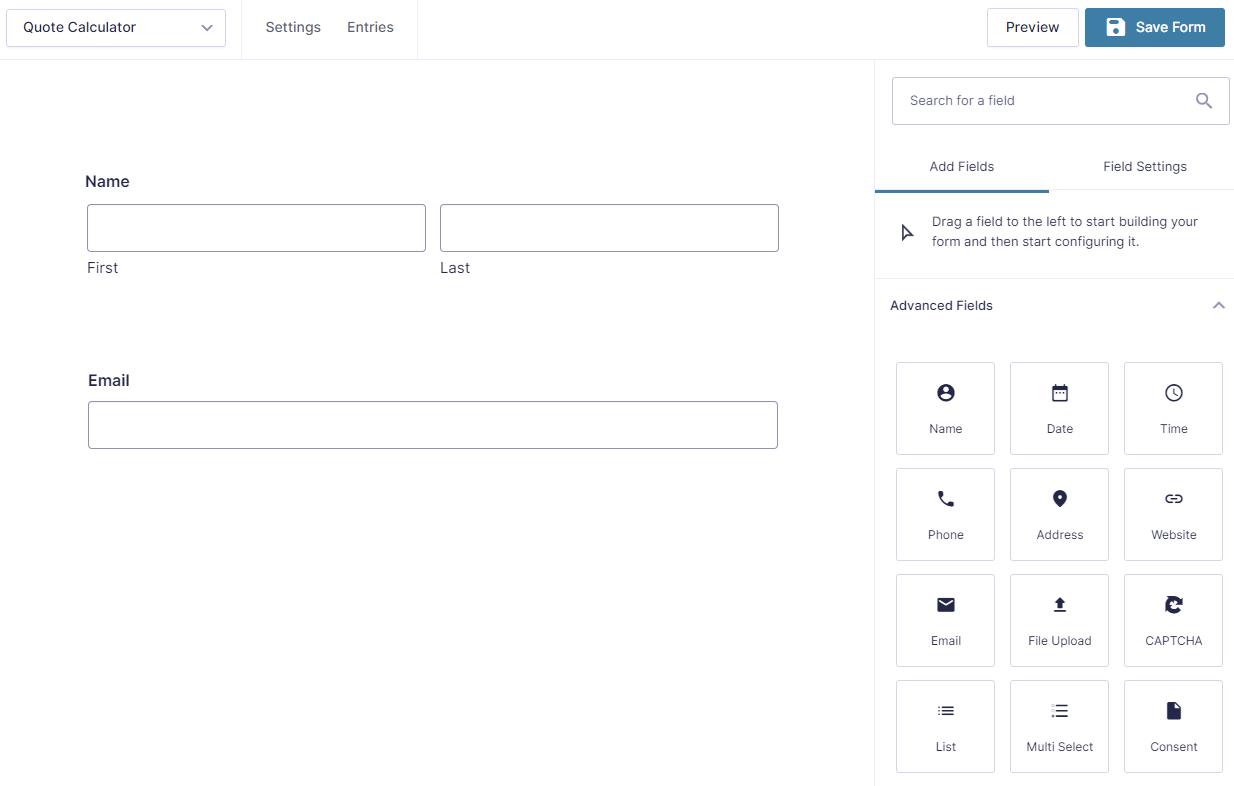
In the form editor, you’ll want to give your form some basic fields by dragging them from the right side of the page to the form. Add the Name and Email Address fields so you know how to contact the submitter. These are also important if you have Gravity Forms integrated with an email marketing tool (like MailChimp or Constant Contact).
Depending on your needs, you may also want to include some other fields that are appropriate for your quote calculator. You may want to ask certain questions about their needs and problems for your team to follow up on later. That said, don’t make the form too long or some potential customers won’t bother.
If you’ve never built a Gravity Form before, check out their full guide on creating a form.
Step 3: Add number and product fields
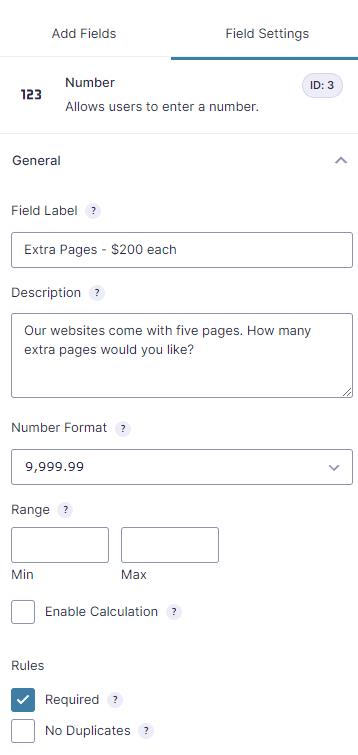
The structure of your quote calculator will depend on the nature of your products and services. For the sake of this example, let’s say you want to give out quotes for your web design and development services. You charge $2000 for a five-page website, $200 for each additional page, and additional fees for specific features.
In this case, we would first add a Number field so users can submit the number of extra pages they would like. That would look like this:
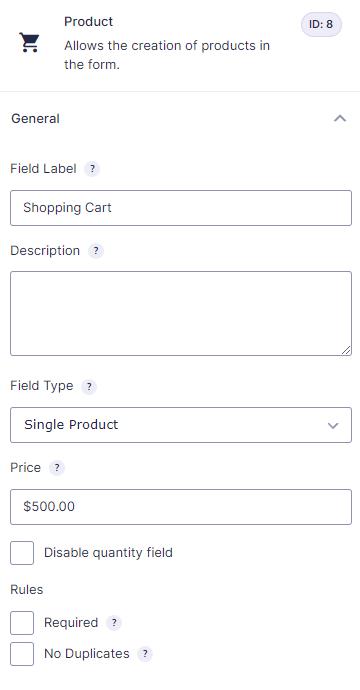
For each additional feature, we would need a separate Product field. The field label and price will vary for each field. They should be set up like this:
Click the Save Form button at this point to save your progress. The page needs to update before you can move on to the next step.
Step 4: Create the quote form logic
Your next step is to add the logic that your form will use to calculate the quote. We need another Number field to store the quote. Select the “Enable Calculation” checkbox so Gravity Form knows this is where you want it to perform the calculation.
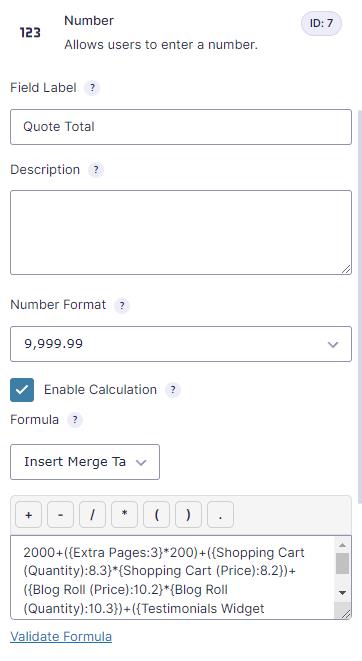
You’ll notice some code-like text in the editor within our newest Number field. This is the math logic that Gravity Forms uses to make the calculation. You’ll need to write your own logic so the form calculates your quote total properly.
Use merge fields from the drop down selector to input variables from your form. For example, we can add the “Extra Pages” field (where the user submitted a whole number) and multiply it by 200 (since we charge $200 per page). That looks like this:
({Extra Pages:3}*200)
We also want to include some other values that add our extra features from the Product fields.
- ({Shopping Cart (Quantity):8.3}{Shopping Cart (Price):8.2}) ({Blog Roll (Price):10.2}
- {Blog Roll (Quantity):10.3})
- ({Testimonials Widget (Price):9.2}*{Testimonials Widget (Quantity):9.3})
When we add them all together, along with the $2000 price of the original package, it looks like this:
2000+({Extra Pages:3}200)+({Shopping Cart (Quantity):8.3}{Shopping Cart (Price):8.2})+({Blog Roll (Price):10.2}{Blog Roll (Quantity):10.3})+({Testimonials Widget (Price):9.2}{Testimonials Widget (Quantity):9.3})
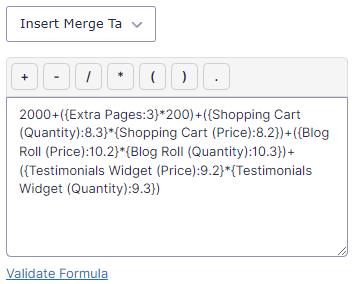
When you are satisfied with your calculation, click the Validate Formula link. Gravity Forms will check that the formula makes sense.
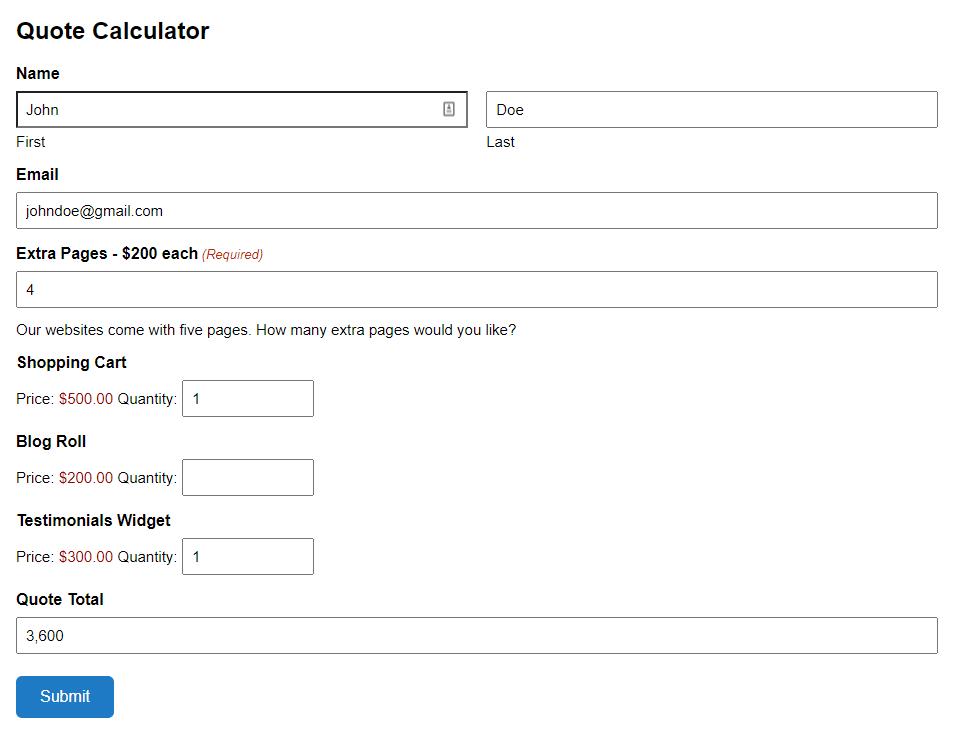
Step 5: Preview your quote calculator
Save the form again and then click the Preview button. This gives you an opportunity to check the form before embedding it on a page. Input some dummy data to make sure it calculates everything properly.
Step 6. Set up a confirmation
A confirmation is a notice to the user that the form was submitted properly. This validation is important for the user experience. The default confirmation is a small notification on the screen that alerts the user to a successful submission. But you also have some other options that might be right for your needs.
In the Gravity Forms editor, visit Settings > Confirmations.
The default confirmation is a simple on-screen message that says, “Thanks for contacting us! We will get in touch with you shortly.” If that is sufficient for you, simply leave it alone, though you may want to include a merge field in order to store some of the form’s data in the message.
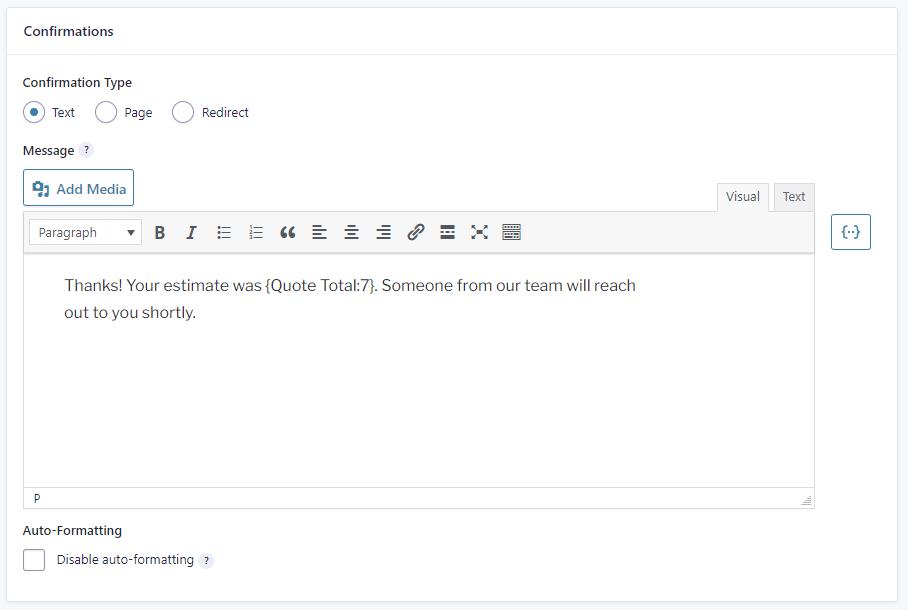
You could also change the confirmation type to “Page” and select another page on your WordPress site for users to be redirected to. Or you can change the confirmation type to “Redirect” and insert the specific URL of a redirect page.
If you want to include form data on the redirect page (such as the quote total), you’ll need to create a query string in the box that says “Pass Data Via Query String.” Learn more about query strings.
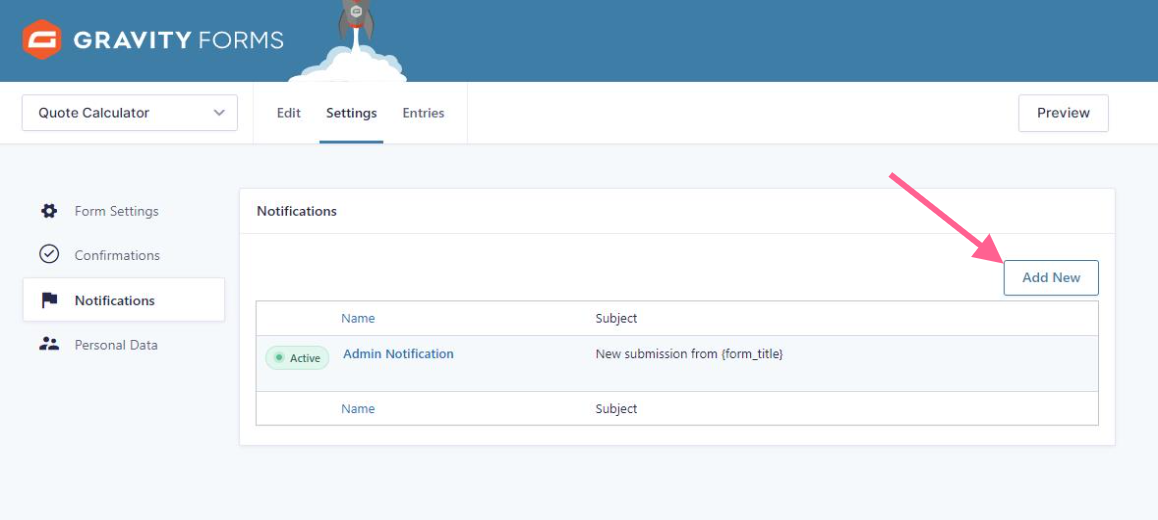
Step 7: Set up a notification
A notification is an email that lets someone know that a user submitted the form. By default, Gravity Form provides a notification email to the WordPress administrator, but you might want to create additional emails for people on your team (like a salesperson) or for the recipient.
In the Gravity Forms editor, visit Settings > Confirmations. Click Add New to make a new notification.
Create your notification by filling out the fields. You can use merge tags in any field to populate with information from the form. For instance, you might remind the user of the quote total and the additional features they selected.
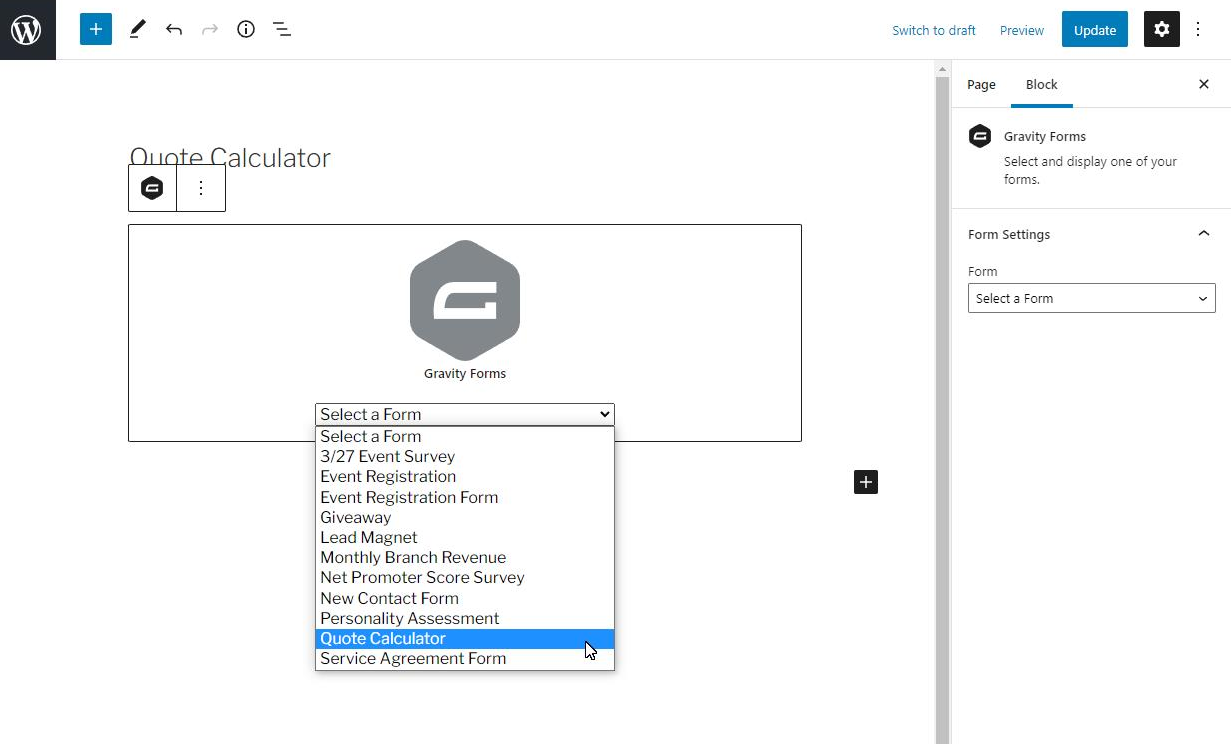
Step 8: Embed and test the form.
Once your form is complete, your next step is to embed it on a page or post so users can interact with it. This is very simple with Gravity Forms. Simply visit the WordPress editor for the page or post where you want the form to display and add a Gravity Forms Gutenberg block.
Click Publish or Update to save the page.
Going Forward
We’ve shown you a basic example of what you can create with Gravity Forms calculations, but there’s no limit to what you can create with the right formula. You can create a quote calculator for any service, no matter how complex.